Teaching Little Fingers
Minggu, 13 November 2016
Cupcake Name Tag
I made this one as a birthday gift for a sweet girl. :)
Check out my fb page: CRAFTY ISLAND
The story behind the name? I'd love to live in an island one day, doing craft only! ^0^
Sabtu, 21 Mei 2016
Pre-Primer Sight Words: Task Cards
Use these nicely designed task cards for teaching sight words.
These task cards are great for a center activity. Laminate the cards, and use the erasable marker to circle the word. Wipe it, and use again.
This set contains 40 cards, Based on Dolch Sight Word List.
Price US$ 3.00
Contact me (laurenciawinda@yahoo.com) for purchasing this product. Payment by Paypal, I'll send you the file.
If you prefer instant download, you can find this product here: Pre-Primer Sight Words: Task Cards
Get the PRE-PRIMER SIGHT WORDS: FLASH CARDS here: https://www.teacherspayteachers.com/Product/Pre-primer-Sight-Words-Flash-Cards-Memory-Game-2002476
Thanks to Graphics from the Pond, for the font I use in this product.
Happy teaching!
Thanks to Graphics from the Pond, for the font I use in this product.
Happy teaching!
Jumat, 20 Mei 2016
Picture Sequencing for Kindies
8 sequencing problems for kindies, with attractive illustration.
Price: US$3.00
Contact me (laurenciawinda@yahoo.com) for purchasing this product. Payment by Paypal, I'll send you the file.
If you prefer an instant downloading, you can find this product here: Picture Sequencing
Happy Teaching!
~ Cecilia / TLF ~
Price: US$3.00
Contact me (laurenciawinda@yahoo.com) for purchasing this product. Payment by Paypal, I'll send you the file.
If you prefer an instant downloading, you can find this product here: Picture Sequencing
Happy Teaching!
~ Cecilia / TLF ~
Minggu, 03 Januari 2016
A New Year Giveaway!
Happy New Year, Everyone!
Wish you all the best all through the year. Good news: I got a small yet cute gift for you! Here's how to get it:
Take a look at my messy working station. What am I making? First one with the correct answer will get a handmade treble clef key chain. (shipping fee will paid by the winner)
Wish you all the best all through the year. Good news: I got a small yet cute gift for you! Here's how to get it:
Take a look at my messy working station. What am I making? First one with the correct answer will get a handmade treble clef key chain. (shipping fee will paid by the winner)
The gift:
Stay tuned, there will be more giveaways coming! Have a nice day!
~ TLF~
Minggu, 27 Desember 2015
December 2015 Holiday Program Day 4
Day 4 : Mix Media Art.
We made a beautiful reindeer wall art.
Want to learn how? Check my step by step tutorial on https://www.guidecentr.al/create-a-beautiful-reindeer-wall-art
We made a beautiful reindeer wall art.
Want to learn how? Check my step by step tutorial on https://www.guidecentr.al/create-a-beautiful-reindeer-wall-art
December 2015 Holiday Program Day 1
Our holiday program went so well. Check out what we've learned!
Day 1 : Papercraft
We made a very cute hanging note.
Here's my step by step tutorial on https://www.guidecentr.al/create-a-cute-mosaic-snowman-hanging-note
Day 1 : Papercraft
We made a very cute hanging note.
Here's my step by step tutorial on https://www.guidecentr.al/create-a-cute-mosaic-snowman-hanging-note
Minggu, 29 November 2015
Stitch a Boat
Teaching kids how to do a running stitch, is easy with this project.
What you'll need:
* Template
* Cardboard
* Art foam sheet
* Embroidery yarn
* Needle
* Button
* Stickers : boat, clouds
* Note book
Here's how to do it:
Print the template.
Put the cardboard under the template, tape them together. Use a drawing compass to punch a hole
on the end of each line. Use the art foam sheet as a mat.
Remove the template, and this is what your cardboard will look like.
Turn the cardboard over, pick any hole as the starting point. Push a needle and yarn through it.
Tape the tail of the yarn.
Now you’re ready to stitch.
This is how your sun rays will look like. Continue with the waves. Paste the button and stickers. Paste your work of art on the notebook cover.
Rabu, 11 November 2015
Minggu, 01 November 2015
Selasa, 27 Oktober 2015
Trick or Treat !
Hi, there! Halloween is just around the corner. Ready for Trick or Treat? ^_^
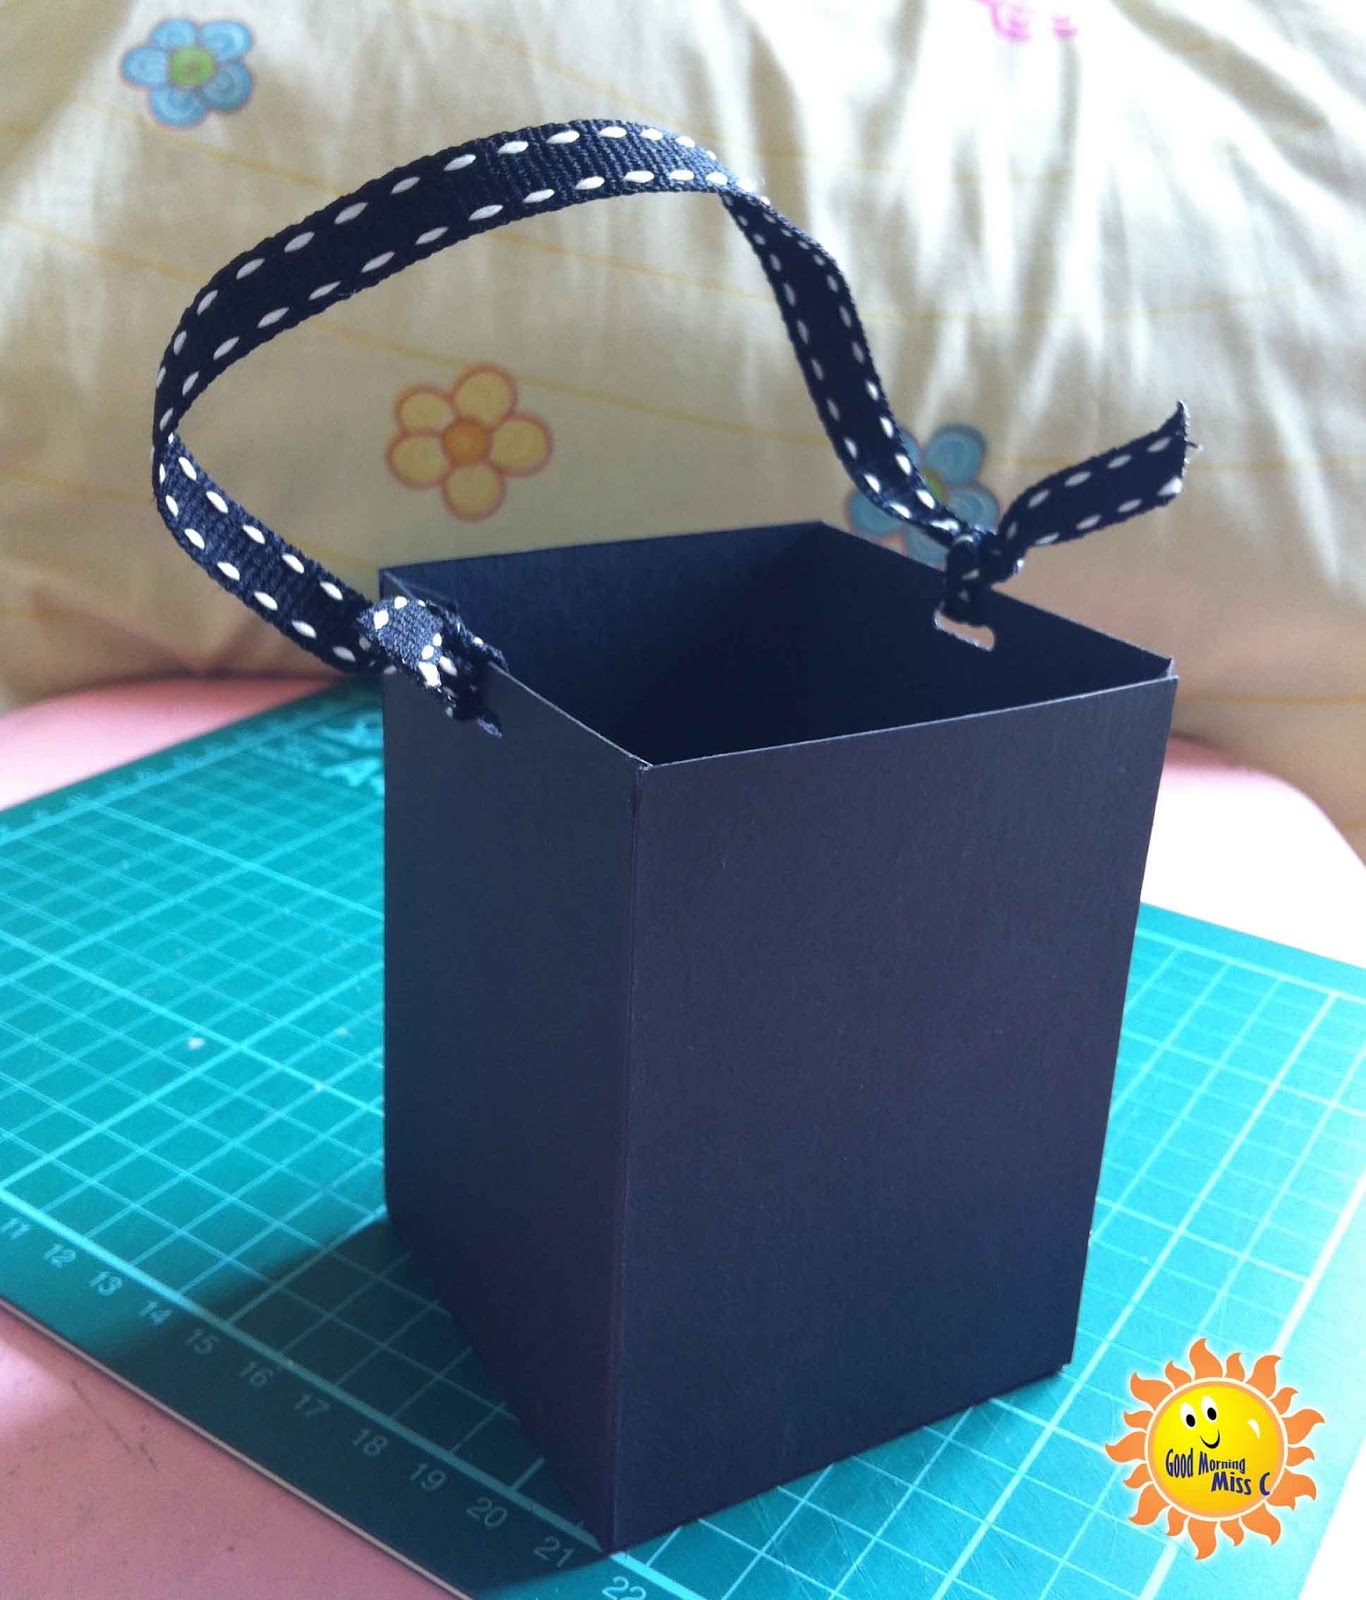
Here are the templates for this pumpkin candy bag.
These are the bag's parts:
Glue the top flap of part C, and make a hole with paper puncher.
Put the bag's parts together.
Smudge soft pastel around the circle so the pumpkin won't look too plain.
Glue 2 circles together.
Paste the 3rd circle with foam tape to give it a nice depth.
Paste the eyes and the mouth, then paste the pumpkin to the candy bag.
Here are the templates for this pumpkin candy bag.
These are the bag's parts:
Glue the top flap of part C, and make a hole with paper puncher.
Put the bag's parts together.
Smudge soft pastel around the circle so the pumpkin won't look too plain.
Glue 2 circles together.
Paste the 3rd circle with foam tape to give it a nice depth.
Paste the eyes and the mouth, then paste the pumpkin to the candy bag.
Sabtu, 17 Oktober 2015
October Schedule
A late post >.<
Starting this month, I have creative - and of course fun! - lessons on Saturday morning. Here's the schedule :
So, hope to see you on Saturday!
~ TLF ~
Minggu, 11 Oktober 2015
Punto de Vista, tarjeta de tarea. Spanish Point of View task cards.
Hola!
I'm a teacher, and also a designer. I often combine both of my skills to create teaching resources to help students learning in a fun way.
Many Spanish teachers left me notes that
teaching resources for them is quite rare, so my products are so helpful.
I created these task cards for practicing Point of View in Spanish.
This task card set contains:
~ 30 first person/third person point of view cards
~ 5 third person omniscient/limited cards
~ an answer key
Price: US$3.00
Contact me (laurenciawinda@yahoo.com) for purchasing this product.
Payment by Paypal, and I'll send you the file.
If you prefer an instant download, you can find the task cards here: Punto de Vista
Contact me (laurenciawinda@yahoo.com) for purchasing this product.
Payment by Paypal, and I'll send you the file.
If you prefer an instant download, you can find the task cards here: Punto de Vista
Happy teaching!
~ TLF ~
I'm in! ^_^
Hi!
One of my crafts was featured on Fun Family Crafts! Yay! ^0^
http://funfamilycrafts.com/fishing-game/
One of my crafts was featured on Fun Family Crafts! Yay! ^0^
http://funfamilycrafts.com/fishing-game/
Kamis, 01 Oktober 2015
Who doesn't like fishing?
Hi, all!
Another kids' favorite is fishing game. When my kid was in kindergarten, he had to prepare a show and tell about magnet. I made him this simple game to show the class how magnet works. It was a blast for the class, they couldn't wait for their turn to play fishing!
And how to make this cute fish? Easy!
1. Print the template.
2. Use it to trim colorful cardboard : 1 pc for the fish, and 2 pcs for the body.
3. I use a circle shaped paper punch to make the fish scales.
4. Glue the scales, overlapping each other.
5. Trim the scales to form the body shape.
6. Repeat these step one more time, and glue the bodies to both side of the fish.
7. Draw the eyes and put a paperclip for the mouth.
A toy fishing rod usually have a magnet at the end of the fishing line. If you have one, you can use it for this game. If not, you can make the rod using a magnet (I used a round magnet), tied it to a yarn (I used a circle sticker to make the yarn stick to the magnet), and tied the yarn to a chopstick or straw for the handle.
If you don't have time for the preparation, contact me for a DIY package.
Happy crafting, and enjoy the game!
~ TLF ~
Kamis, 24 September 2015
Busy Little Bee
So here we go, my first post. This week is a toddler week ^_^ Let's create something easy and fun with your toddler. Kids seem crazy about anything on stick. From food (my kids love Old Chang Kee's fish balls so much) to craft!
This bee on stick is really every kids favorite when I had a craft exhibition a while ago.
This is what you need:
1. Template
2. Yellow and black cardstock or color pencils
3. Straw
4. Scissors
5. Glue
6. Tape
Print this template:
This bee on stick is really every kids favorite when I had a craft exhibition a while ago.
This is what you need:
1. Template
2. Yellow and black cardstock or color pencils
3. Straw
4. Scissors
5. Glue
6. Tape
Print this template:
You can color the bee body, or cut yellow and black cardstock and glue them.
For you who's too busy to do the preparation, but looking forward to spend some quality time doing this craft with your toddler, you can order my DIY craft package here on the comment section, or via FB: teachinglittlefingers@gmail.com.
Thanks for reading, and happy crafting everyone!
~TLF~
Rabu, 16 September 2015
Let's get crafty!
Hi! If surrounded by papers, ribbons, fabrics, yarns, beads, stamps -- and especially glitters! -- makes you feel like you're in a sanctuary, then this blog is for you. ^_^
Langganan:
Postingan (Atom)